I’m the proud owner of an Earthworks M30 30kHz measurement microphone, which I use it to measure and calibrate sound systems using Smaart v8 from Rational Acoustics, along with a MOTU UltraLite mk3 audio interface.
Background
A few of years ago, I was attempting to measure a system, but had the strange behavior that after 15s or so, the signal from the microphone faded away completely, making it impossible to calibrate the system. I eventually realized that by swapping the 10m XLR cable I was using for a 3m cable, the problem went away.
As I’d used the setup without issue in the past, I assumed the issue was the with the particular XLR cable itself, but eventually realized that the longer cables produced hit-and-miss results, and that I needed to dig deeper into the problem. I also realized that I had always connected the mic through the console of the system I was measuring (to ensure I was calibrating the full path), but on this occasion I was calibrating directly with the interface as customers were expected to provide their own console, and only the system was a fixed installation.
As my father has decades of experience in audio, he was my first source for troubleshooting. He suggested that the mic had a high impedance, and that the 10m cable would cause issues with such a high impedance. Contacting MOTU, they also suggested that the mic might be the issue. The M30 model I own is a 600Ω impedance model which I’ve owned for 7y+.
With this information, I contacted Earthworks directly. After some discussion of the issue via email, Earthworks suggested that the impedance of the older M30 models might only be part of the issue, and that my audio interface might not be capable of maintaining 48V phantom with the longer cables. They provided me with a test procedure which I could use to verify my setup experimentally.
Testing
Phantom power test procedure
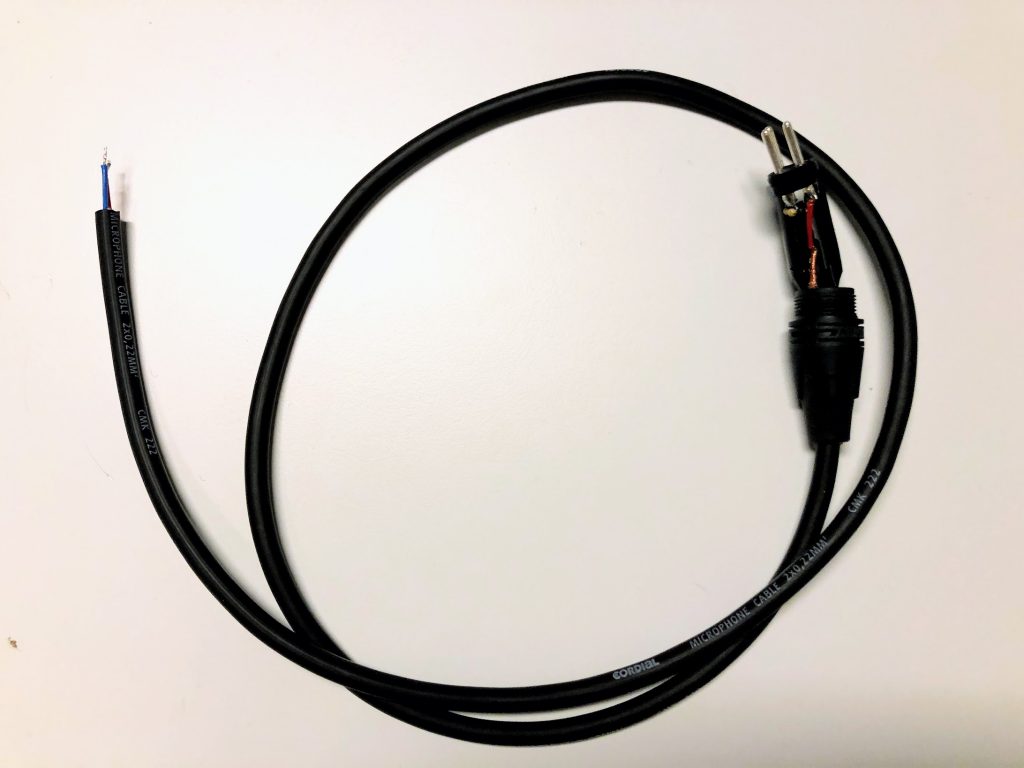
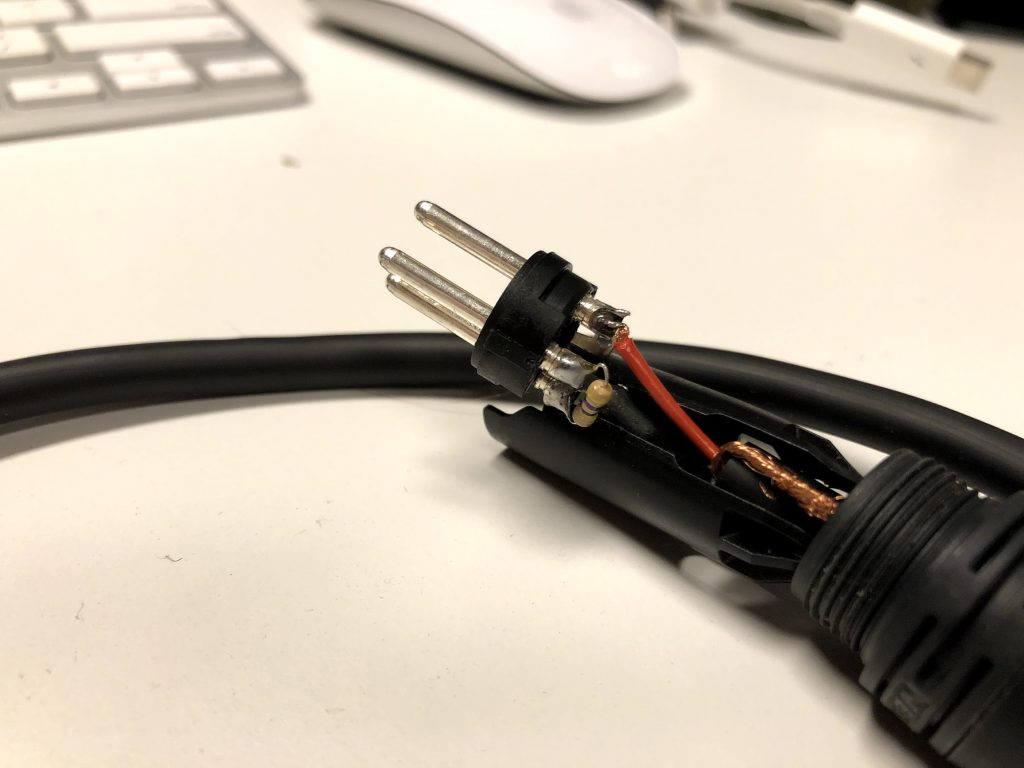
To perform the tests, I needed to build a cable. As I didn’t have a 47Ω resistor, I used a 50Ω resistor instead as it was close enough.
Rather than only check my UltraLite mk3, I set about testing the phantom power every XLR mic inputs that I had available to me at home at the time. I studied Physics in university, and doing experiments like this interest me!
The results below are based on the various document sections of the test procedure.
1.A. Measure voltage between pins 1 (neg) and 2 (pos). Expect 48V DC (±1V).
1.B. Measure voltage between pins 1 (neg) and 3 (pos). Expect 48V DC (±1V).
2.B. Measure current between resistor and pin 2. (47Ω resistor across pins 1 & 3; 47Ω resistor from pin 1). Expect >= 6.2 mA.
2.C. Measure voltage from above. Expect close to 48V DC.
| 1.A (V) | 1.B (V) | 2.B (mA) | 2.C (V) |
| Avid S3L-X E3 Engine | 48.25 | 48.28 | 7 | 47.59 |
| M-Audio ProFire 610 (FireWire) | 49.48 | 49.49 | 7 | 48.17 |
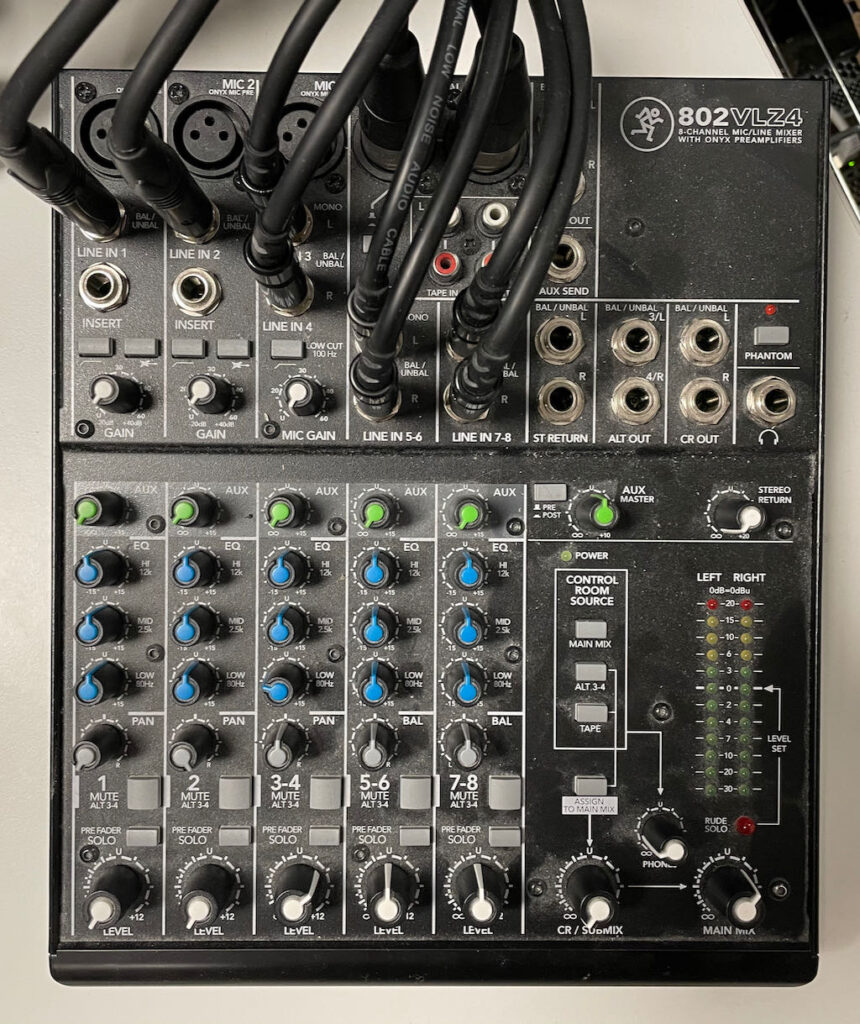
| Mackie 802VLZ4 | 47.33 | 47.34 | 7 | 46.8 |
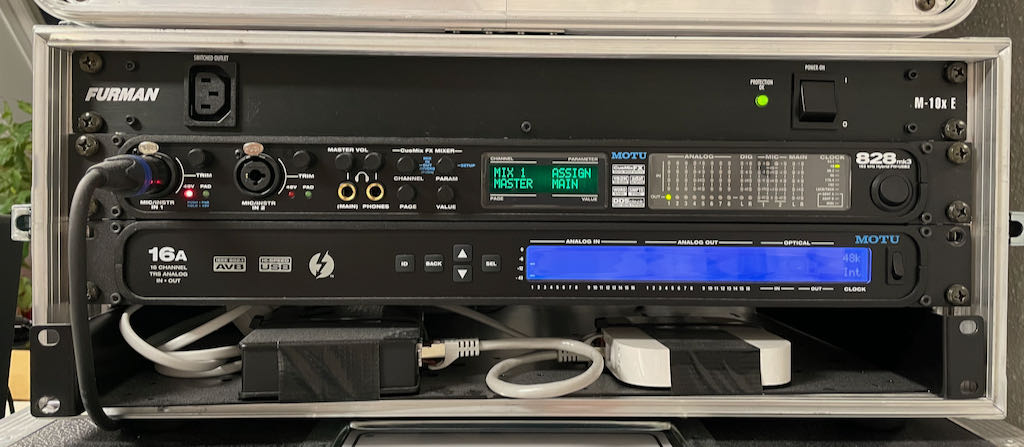
| MotU 828mk3 | 48.01 | 48.01 | 5 | 41.8 |
| MotU UltraLite mk3 (FireWire) | 48.3 | 48.31 | 5 | 41.5 |
| MotU UltraLite mk3 (external) | 48.3 | 48.31 | 5 | 42.16 |
| MotU UltraLite AVB | 49 | 49.05 | 6 | 31.8 |
Results
The clear result was that none of my MotU devices were not capable of providing phantom power necessary to drive my Earthworks M30 mic.
After presenting the results to Earthworks, they informed me that they offer replacement circuity for the M30 to convert it from 600Ω to 150Ω. I chose to keep the microphone in its original state, and I instead purchased the ART Phantom II Pro that was recommended in the testing document. With the inclusion of that device, I have had no further problems with my setup, and I continue to use the MOTU UltraLite mk3 successfully for measurement and calibration.
As a follow-up, I contacted MOTU with the results of my tests. It turns out that all of the devices are somewhat older, and that their newer devices apparently have fixes for this particular issue. I haven’t had a chance to verify the results experimentally though.